

1. Introduction: See Your Floor Plan Come to Life
That’s where 3D visualization comes in. By converting a flat 2D blueprint into an immersive 3D model, you can explore your space from every angle, test true ergonomic scale, experiment with lighting and materials, and make confident design decisions before spending a single dollar on contractors or furniture.
In this step-by-step masterclass, we will walk you through the entire transformation: what measurements you need, how to construct your walls and openings, how to scale furniture properly, and how to avoid the most common 3D modeling traps.
Don’t wait until demolition or framing starts to discover that your sofa blocks a doorway. Visualize and stress-test your layout in 3D first.
2. What Is a 2D Floor Plan and Why Turn It Into 3D?
Both 2D schematics and 3D models serve crucial purposes, but they answer very different questions:
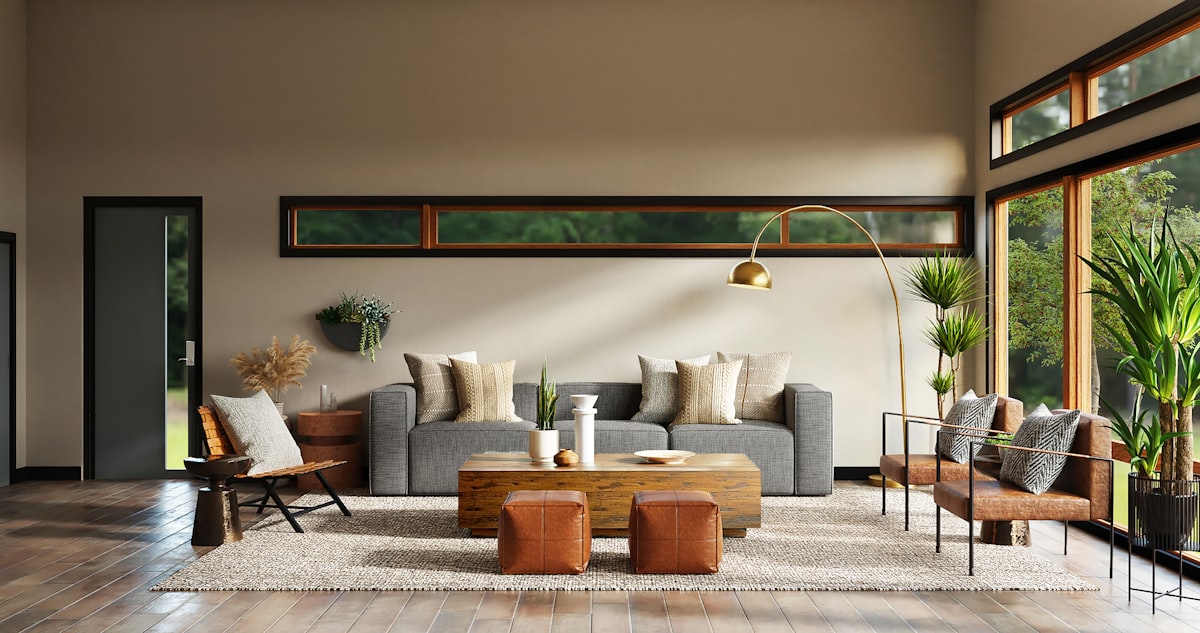
2D Floor Plan: The Map
A bird’s-eye technical blueprint that organizes boundaries and spatial zoning:
- ✓ Exterior boundary wall runs
- ✓ Internal partitions & room divisions
- ✓ Door swings and window coordinates
- ✓ Precise linear dimensions (L × W)
- ✓ Aerial 2D furniture footprints
3D Design: The Experience
A volumetric, experiential walkthrough that reveals how the room actually feels:
- ✓ True ceiling volume & vertical height balance
- ✓ Human-scale furniture proportions
- ✓ Natural lighting and shadow depth
- ✓ Material textures (hardwood, boucle, marble)
- ✓ Unobstructed sightlines from eye level
Think of a 2D floor plan as the map and a 3D design as the journey. The 2D plan tells you where things go; 3D tells you how the home feels to live in.
3. What You Need Before Creating Your 3D Design
Garbage in, garbage out. A realistic 3D model depends on accurate baseline measurements. Collect these four categories before starting:
1. Room Dimensions
Total perimeter length, width, and ceiling height from finished floor to ceiling.
2. Doors & Windows
Width, height, distance from the nearest corner, and the direction of door swings.
3. Structural Details
Load-bearing columns, dropped soffits/beams, staircases, and built-in niches.
4. Existing Furniture
Actual dimensions of sofas, dining sets, or beds that you plan to keep.
Even a small 4-inch measurement mistake can deceive you into ordering a sectional that traps the bedroom door. Always measure twice before dropping objects onto the canvas.
4. Start With Your 2D Floor Plan
Every great 3D model begins with an accurate 2D footprint. Follow this sequential order:
Draw the Room Boundaries
Draw the external envelope first. Establish the outer walls and calibrate perimeter square footage.
Add Internal Partition Walls
Subdivide the space into functional zones: living room, kitchen, bedroom, ensuite bathroom, and hallways.
Position Doors and Windows
Snap doors and windows into their exact positions. Double-check swing clearances so doors do not hit furniture.
Place Primary Scale Furniture
Drop in scale models of major pieces (sofas, beds, dining sets) according to their real-world dimensions.
Start with the largest furniture first. Anchor the room with the sofa, bed, or dining table before adding sideboards, plants, or decorative items.
5. Turn Your 2D Floor Plan Into 3D: The Full Pipeline
In 3DS Planner, converting a 2D drawing to a 3D environment happens in real-time. Here is how the transformation unfolds layer by layer:
Don’t worry about cushions or wall art yet. First ensure wall boundaries, ceiling heights, doorway openings, and major clearances are 100% structurally sound.
6. Add Furniture at the Right Scale
This is where most DIY designs fail. A room that looks comfortable on paper can feel suffocated in 3D if the sofa is too deep or the coffee table leaves no walking space.
- • Walkways squeezed below 30 inches
- • Wardrobe or cabinet doors collide with the bed
- • High-back armchairs block views of windows
- • Visual clutter triggers subconscious anxiety
- • Clear 36–42" primary circulation corridors
- • 14–18" between sofa edge and coffee table
- • Furniture scaled in proportion to ceiling height
- • Breathing room left intentionally around corners
7. Choose Materials, Colors & Finishes
Once the physical structure and furniture scale are locked, turn your attention to the visual and tactile finishes:

Change one major element at a time. Test flooring options first, then wall colors, then upholstery finishes. This methodical approach makes it easy to isolate what actually elevates the room.
8. Explore Different Design Styles in 3D
Instead of locking into a single aesthetic on day one, test how different design languages react to your specific room proportions:
Clean & Minimal
Low-profile furniture, concealed storage, neutral monochromes, and expansive negative space.
Warm & Natural (Japandi)
Light oak, boucle fabrics, woven rugs, clay ceramics, and soft 2700K ambient illumination.
Bold & Contemporary
High-contrast accents, sculptural curved seating, monolithic coffee tables, and statement lighting.
Classic & Elegant
Wall moldings, symmetrical seating arrangements, brass hardware, and refined textiles.
9. Compare Different Versions of Your Design
The real power of digital 3D modeling is iteration without consequence. Create at least three variations before committing:
Alternative Layout
Test an L-shaped sectional vs. a sofa with two companion armchairs.
Material Shift
Compare light bleached oak floors against rich dark walnut and slate.
Aesthetic Direction
Compare Scandinavian minimalism with warm Mediterranean earth tones.
10. Walk Through Your Design at Eye Level
Never evaluate a 3D room solely from a top-down dollhouse perspective. Switch to first-person eye level (around 5'6" / 170 cm) and inspect these six critical checkpoints:

11. Common Mistakes When Converting a Floor Plan to 3D
Function first, appearance second. A stunning 3D room is only successful if it is comfortable, practical, and effortless to live in every single day.
12. How 3D Visualization Saves Thousands Before Renovation
Zero Restocking Fees
Never buy a custom sectional only to realize it doesn't fit through the front door or hallway.
Clear Contractor Specs
Show builders exactly where outlets, switches, and partition walls belong before framing begins.
Design Confidence
Eliminate second-guessing. You and your family can see the finished room before spending a dollar.
13. Turn Your Floor Plan Into 3D in 3DS Planner
Have a blueprint or rough sketch ready? Instead of trying to imagine the space in your head, drop it into our 3D engine and explore it in real-time.
14. Bonus: Combine 2D/3D Planning With AI Interior Styles
Planning your physical space and deciding how it should aesthetically look are two distinct challenges. 3DS Planner allows you to combine both:
Step 1: 2D & 3D Spatial Planning
Lock down wall dimensions, door swings, and scale furniture footprints with architectural accuracy.
Step 2: AI Generative Restyling
Snap a photo of your existing room and instantly generate 40+ photorealistic design styles in seconds.
15. 10 Quick Tips for Better 3D Home Designs
16. Final Checklist: Before Finalizing Your 3D Design
Click each item as you verify it in your 3DS Planner canvas:
17. Frequently Asked Questions
Ready to Turn Your Floor Plan Into a 3D Reality?
Create your layout, test furniture clearances, and restyle your rooms with generative AI in one seamless, intuitive workspace.


